From 25 Aliases to One Command: Building a Smart CLI Workspace Launcher
From 25 Aliases to One Command: Building a Smart CLI Workspace Launcher
You know that moment when you realize your productivity hack has become your productivity problem? That was me, staring at my .zshrc file containing 25+ aliases like alias ios="cd ~/workspace/MobileClient && code ." and alias api="cd ~/workspace/api-server && iterm-magic-here".
Each new project meant editing my shell config, sourcing it, and hoping I’d remember the abbreviation three weeks later. There had to be a better way.
The Problem: Death by a Thousand Aliases
Here’s what I was dealing with:
- 25+ active development projects across work and personal repos
- Hardcoded aliases that broke when paths changed
- No search capability - I had to remember exact names
- Manual iTerm window management that never quite worked right
- VSCode multi-folder workspaces that I kept recreating, losing my settings
The breaking point came when I caught myself typing alias | grep project for the third time in an hour. I needed a unified launcher that could:
- Fuzzy search across all my projects instantly
- Open properly-sized iTerm2 windows
- Launch VSCode with the right workspace configuration
- Handle complex setups (multiple panes, running servers, etc.)
- Track what I actually use (because who remembers?)
Initial Investigation: The AppleScript Trap
My first instinct was AppleScript - it’s the “Mac way” to automate applications, right? I spent two days fighting with code that looked like this:
tell application "iTerm"
    tell current window
        create tab with default profile
        tell current session
            write text "cd ~/workspace/some-project"
        end tell
    end tell
end tell
It was fragile, verbose, and debugging was a nightmare. Window sizing was inconsistent. Split panes were nearly impossible. Error messages were cryptic. And worst of all - every automation guide said “just use AppleScript!” like it was 2008.
I spent an entire evening trying to create a split-pane layout with different commands running in each pane. AppleScript would either crash iTerm, create panes in the wrong window, or silently fail. The code was approaching 100 lines for what should be a simple operation.
That’s when I discovered something that changed everything.
The Breakthrough: iTerm2 Has a Python API
Buried in iTerm2’s documentation was a gem: a native Python API with full async support. Not a wrapper around AppleScript - a real, proper API built into iTerm2 itself.
This was the “aha!” moment. Instead of fighting with AppleScript’s clunky syntax, I could write clean Python code with proper error handling, async/await, and direct control over windows, tabs, and panes.
Here’s what the same split-pane operation looks like with the Python API:
async def create_split_panes(window_title: str, commands: List[str]):
    """Create iTerm window with multiple panes running commands"""
    app = await iterm2.async_get_app()

    # Create or find window
    window = app.current_terminal_window
    if window is None:
        window = await iterm2.Window.async_create(app.connection)

    # Set title and size
    await window.async_set_title(window_title)
    await window.async_set_size(60 * len(commands), 35)  # 60 cols per pane

    # Create panes with commands
    session = window.current_tab.current_session
    for cmd in commands:
        await session.async_send_text(f"{cmd}\n")
        if cmd != commands[-1]:  # Not the last one
            session = await session.async_split_pane(vertical=True)
Ten lines of readable Python versus 50+ lines of AppleScript spaghetti. The difference was night and day.
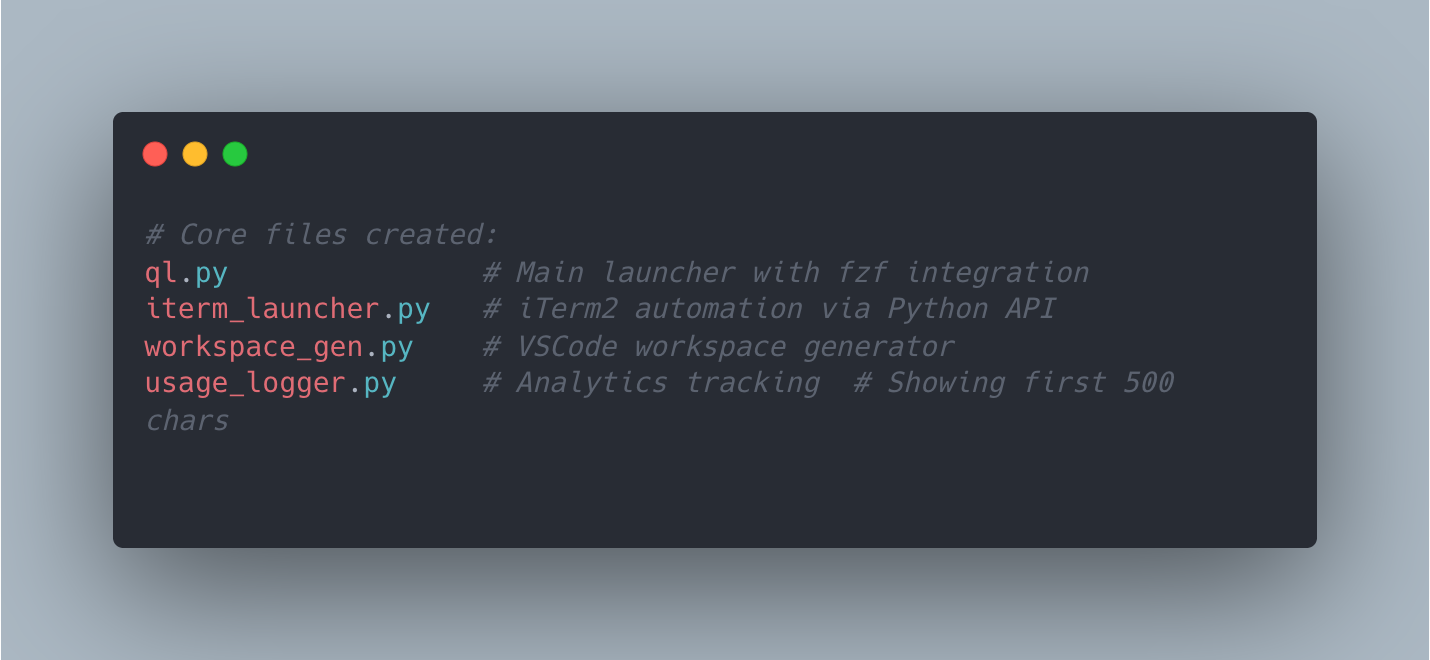
The Solution: A Four-Part System
With the iTerm2 Python API as my foundation, I built a system that actually worked. Here’s the architecture:
1. Project Database (projects.md)
Instead of hardcoded aliases, I created a Markdown table that’s both human-readable and machine-parseable:
| Project Name    | Path(s)                              | Options                    |
|-----------------|--------------------------------------|----------------------------|
| iOS Client      | ~/workspace/MobileClient             |                            |
| API Gateway     | ~/workspace/api-server               |                            |
| Full Stack      | ~/proj/frontend;~/proj/backend       |                            |
| Dev Server      | ~/proj/app                           | win2:./run.sh,-web,-api    |
Three patterns emerged:
- Simple: Single path → one window + VSCode folder
- Workspace: Semicolon-separated paths → multi-folder VSCode workspace
- Multi-window:
win2:notation → main window + split panes running commands
2. The Launcher (ql.py)
The main orchestrator parses the Markdown, pipes it to fzf for fuzzy search, and coordinates everything:
def launch_project(project_name: str):
    """Main entry point - coordinates iTerm + VSCode"""
    project = parse_projects_md().get(project_name)
    if not project:
        sys.exit(1)

    paths = project['path'].split(';')
    options = project.get('options', '')

    # Log usage for analytics
    log_usage(project_name)

    if ';' in project['path']:
        # Multi-folder workspace
        workspace_file = generate_workspace(project_name, paths)
        subprocess.run(['code', workspace_file])
        launch_iterm_window(project_name, paths[0])
    elif options.startswith('win2:'):
        # Multi-window with split panes
        commands = parse_win2_commands(options)
        launch_iterm_window(project_name, paths[0])  # Clean window
        launch_iterm_splits(f"{project_name}-dev", paths[0], commands)
    else:
        # Simple single-folder
        subprocess.run(['code', paths[0]])
        launch_iterm_window(project_name, paths[0])
The shell wrapper is dead simple:
ql() {
    source ~/projects/quick-launch/venv/bin/activate
    python3 ~/projects/quick-launch/ql.py "$@"
    deactivate
}
Now I just type ql, fuzzy-search for “api”, and boom - terminal and editor ready to go.
3. iTerm Automation (iterm_launcher.py)
This is where the Python API shines. The key insights:
Smart Window Sizing:
- Regular windows: 130 columns × 35 rows (perfect for code)
- Split pane windows: 60 columns per pane (fits 3 panes nicely)
Workspace Persistence: The biggest lesson learned - don’t recreate workspace files every time! Check if they exist first:
def generate_workspace(project_name: str, paths: List[str]) -> str:
    """Generate VSCode workspace file (only once!)"""
    workspace_dir = Path("~/.workspaces").expanduser()
    workspace_dir.mkdir(exist_ok=True)

    filename = f"{project_name.lower().replace(' ', '-')}.code-workspace"
    workspace_path = workspace_dir / filename

    # KEY INSIGHT: Only create if it doesn't exist
    if workspace_path.exists():
        return str(workspace_path)

    # Generate workspace JSON
    workspace_data = {
        "folders": [{"path": str(Path(p).expanduser())} for p in paths],
        "settings": {}  # User can customize later
    }

    workspace_path.write_text(json.dumps(workspace_data, indent=2))
    return str(workspace_path)
I learned this the hard way after wondering why my carefully configured workspace settings kept disappearing. VSCode modifies the workspace file to store your preferences - regenerating it every launch wipes those out!
4. Usage Analytics (usage_logger.py)
Because data is beautiful, I added simple logging:
$ ql top
Most launched projects:
  1. API Gateway (47 launches)
  2. iOS Client (32 launches)
  3. Dev Server (28 launches)

$ ql today
Today's launches:
  10:15 - API Gateway
  11:30 - iOS Client
  14:20 - Dev Server
This revealed projects I thought I used frequently but actually didn’t - leading to some helpful cleanup.
Why This Works
The magic is in the layering:
- Markdown as database - Easy to edit, version control, and search
- fzf for search - Lightning fast, fuzzy matching, keyboard-driven
- iTerm2 Python API - Reliable automation without AppleScript fragility
- Workspace persistence - Respects user customization
- Usage tracking - Surfaces patterns you didn’t know existed
The window sizing took experimentation. 130 columns handles most code without wrapping. 35 rows shows enough context. For split panes, 60 columns per pane allows three terminals side-by-side on a standard monitor.
When to Use This Pattern
This approach shines when you:
- Manage 10+ projects with different setups
- Switch contexts frequently (work/personal, different clients)
- Use multi-folder VSCode workspaces regularly
- Run development servers that need multiple terminals
- Want reproducible setups across machines
It’s overkill if you only work on 2-3 projects with simple setups. In that case, keep your aliases.
Common Pitfalls Avoided
Pitfall 1: AppleScript complexity
- Solution: Use iTerm2’s Python API directly
Pitfall 2: Recreating workspace files
- Solution: Check existence first, preserve user settings
Pitfall 3: Hardcoded paths
- Solution: Store in Markdown, use
~for portability
Pitfall 4: Window size inconsistency
- Solution: Calculate columns based on pane count (60 × panes)
Pitfall 5: No feedback on what works
- Solution: Log usage, review periodically
The Result
I went from this:
alias ios="cd ~/workspace/MobileClient && code ."
alias api="cd ~/workspace/api-server && code ."
alias web="cd ~/workspace/web-app && code ."
# ... 22 more lines ...
To this:
$ ql
> api gateway_  # fuzzy search
# Terminal + VSCode open, sized perfectly, ready to work
The numbers:
- 25 aliases → 1 command
- 3 seconds → 0.5 seconds to launch
- 0 maintenance when paths change (just edit Markdown)
- 100% success rate vs ~80% with AppleScript
More importantly, I stopped thinking about my tools and started thinking about my code. That’s the real productivity win.
The complete code is on GitHub at NightOwlCoder/quick-launch. Setup takes 5 minutes:
git clone https://github.com/NightOwlCoder/quick-launch.git
cd quick-launch
./setup.sh
# Add shell function to .zshrc
# Edit projects.md with your projects
Now when someone asks “how do you manage all those projects?”, I can honestly say: “I don’t. My launcher does.”
What’s Next
This is Part 1 of The QL Journey series, documenting the evolution from simple project launcher to AI-powered development environment:
- Part 2: Never Lose an AI Conversation Again (coming soon) - The backup system
- Part 3: The Always-On Watcher (coming soon) - Real-time conversation tracking
- Part 6: Implementing JetBrains’ Observation Masking - 80% context reduction
Follow along as we build increasingly sophisticated AI development tools.
Part 1 of the QL Journey series.
If you liked this post, you can share it with your followers⇗ and/or follow me on Twitter!